Adding Entries
Use Add entry in the main menu or Ctrl+N to open the add entry overlay.
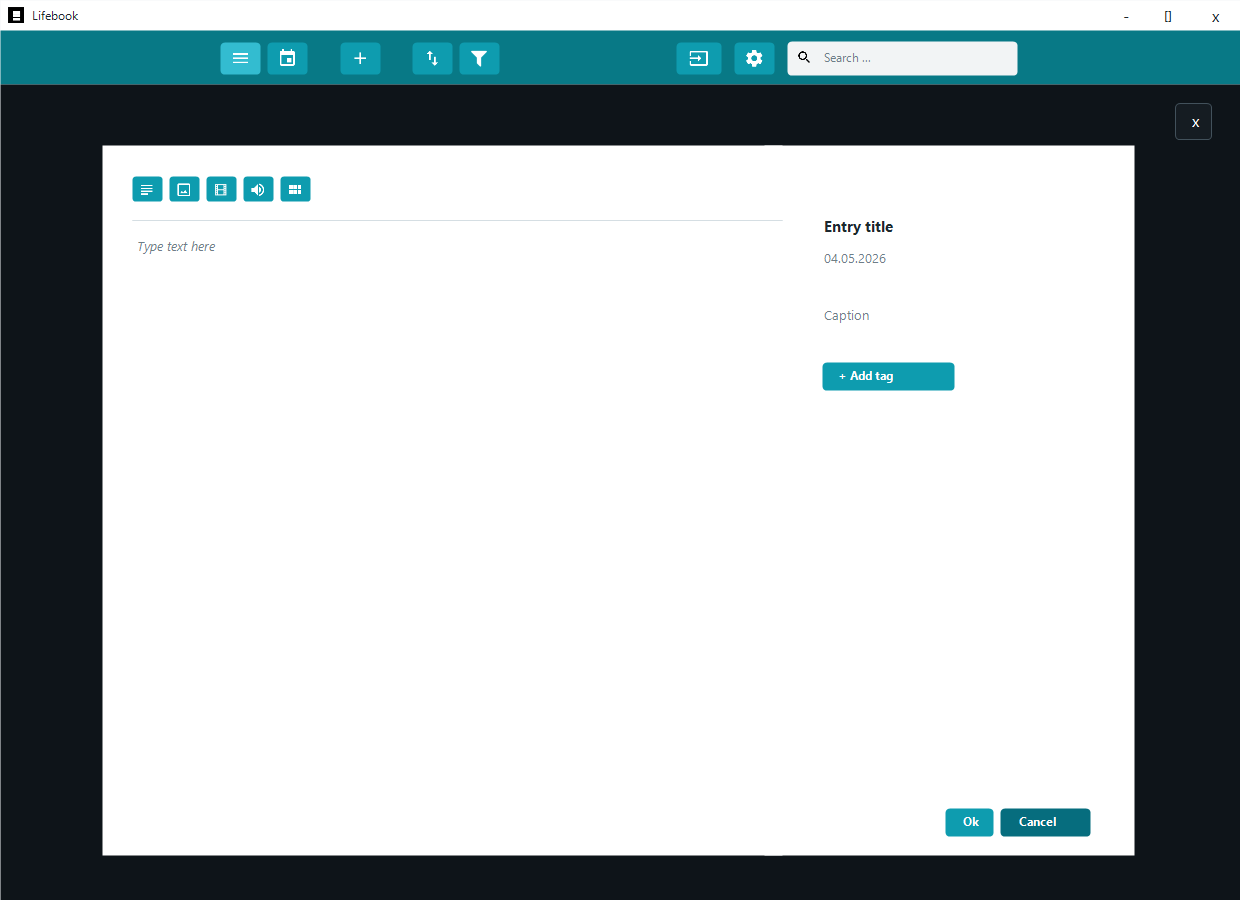
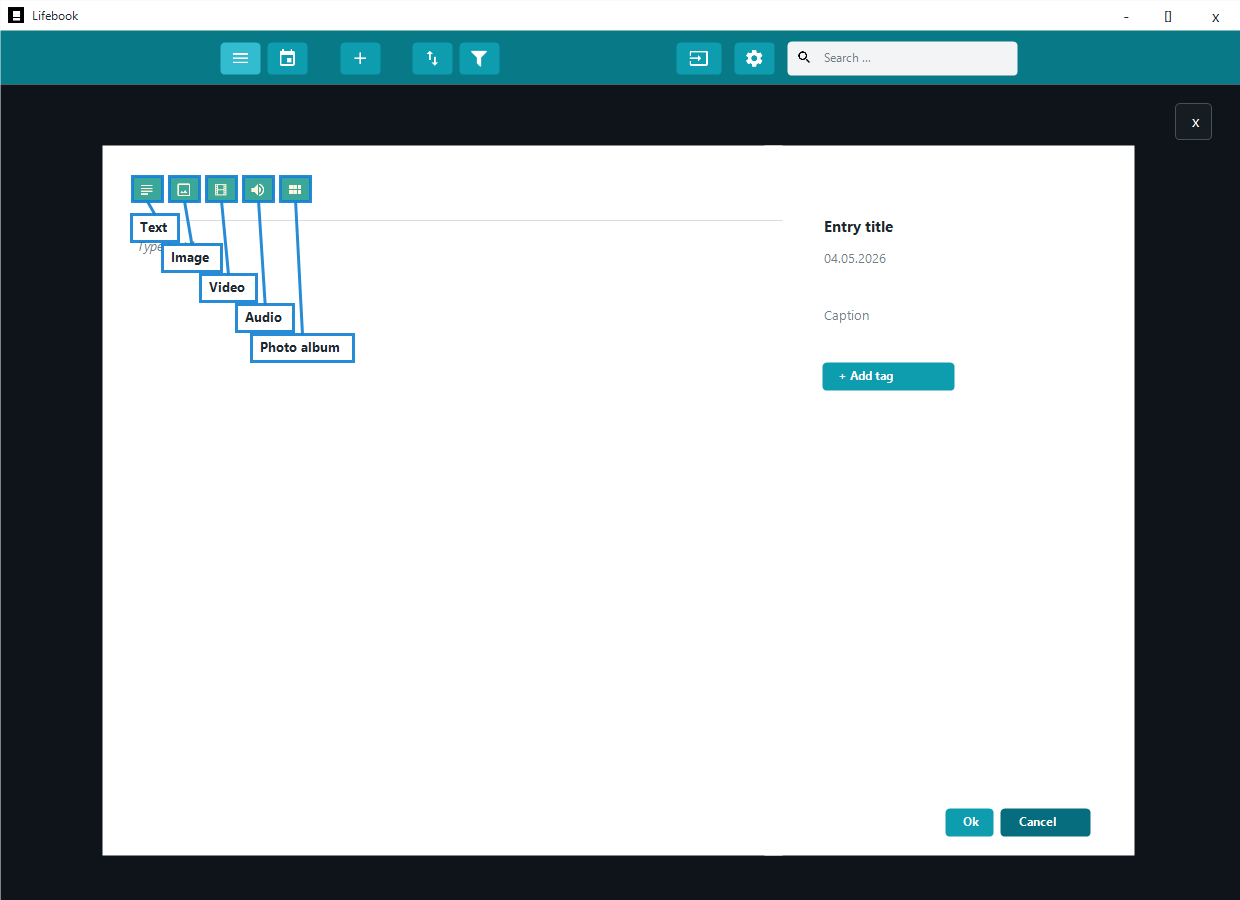
The add view starts in text mode. The heading shows the type of entry you are creating, and the type buttons at the top let you switch before saving:
- Text
- Image
- Video
- Audio
- Photo album
Common Fields
All entry types share:
- Title
- Date
- Caption
- Tags
OkandCancel
The title is required. Lifebook shows a message if you try to save without one.
After saving an entry, Lifebook asks whether you want to create another entry. If you choose yes, the add entry overlay resets and stays open.
Text Entries
Text entries are written directly in Lifebook.
To create one:
- Choose the text type.
- Enter a title.
- Type the content.
- Add a date, caption, or tags if needed.
- Select
Ok.
Text entries do not require an external file.
Image Entries
Image entries use a selected image file.
To create one:
- Choose the image type.
- Select
Select Image File. - Choose an image.
- Review the preview.
- Edit the title, date, caption, tags, or rotation.
- Select
Ok.
See supported image formats for the full list of accepted extensions.
Lifebook includes WebP, HEIC, and HEIF import support. Installing the Microsoft HEIF Image Extensions package can still improve HEIC/HEIF preview behavior outside Lifebook.
Video Entries
Video entries use a selected video file and show a preview in the media player.
See supported video formats for the full list of accepted extensions.
Some video files can still fail to play if Windows does not have the required codec.
Audio Entries
Audio entries use a selected audio file and show the audio player.
See supported audio formats for the full list of accepted extensions.
Photo Albums
Photo albums are collections of image and video files from a folder.
To create one:
- Choose the photo album type.
- Select
Select Folder. - Choose a folder containing image or video files.
- Review the imported thumbnails.
- Edit the title, date, caption, and tags.
- Select
Ok.
The selected folder must contain supported image or video files. Hidden folders and folders without valid files are ignored.
Automatic Titles, Dates, and Tags
When you select a file:
- The file name is used as the title if the title is still empty.
- Lifebook reads the best available file date.
- Photo capture dates may be used for images.
- Tags can be read from file information where available.
You can change the title, date, caption, and tags before saving.
Copying Files Into Lifebook
In Settings, you can choose whether Lifebook copies image, audio, and video files into its own data folder when adding/importing them.
- When enabled, Lifebook stores its own copy and is less dependent on the original file path.
- When disabled, Lifebook references the original file location.
Adding From Calendar View
In month calendar view, select an empty day cell to open the add entry overlay with that day selected as the entry date.
See Calendar View.
See also: Edit Mode · Photo Albums and Collections · Import and Export