Getting Started
First Launch
When Lifebook starts for the first time, it may show a welcome guide and fill the timeline with example entries. The demo entries show what the app can do: text, images, videos, audio, tags, and photo albums.
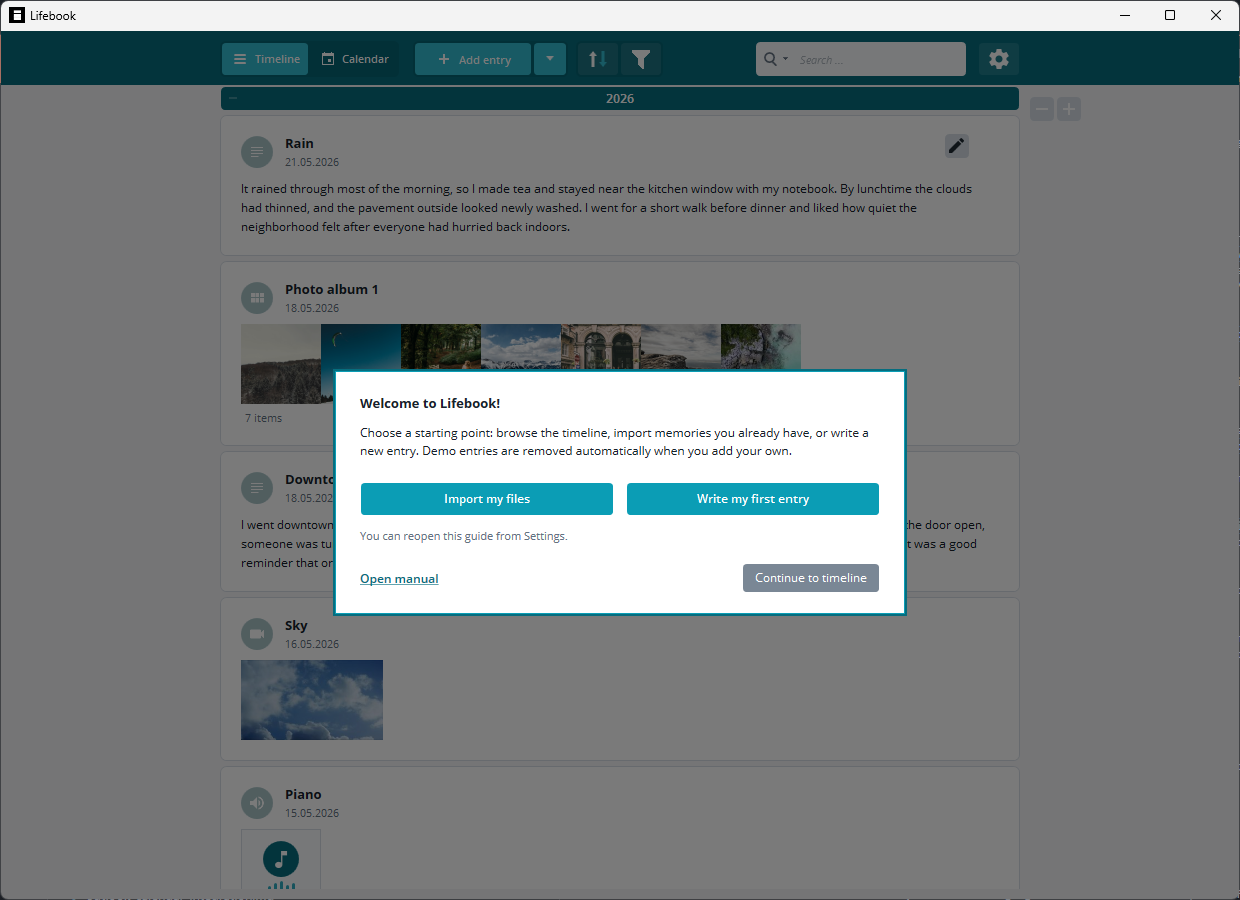
Use the welcome guide to:
Import my files: choose files to import right away.Write my first entry: open a new text entry.Open manual: open this manual in your browser.Continue to timeline: close the guide and browse the demo timeline.
You can reopen the guide later from Settings > User Manual.
Note
The demo entries are removed automatically when you add or import your first entry of your own.
Trial Mode
The free trial lets you create up to 50 timeline entries. When you reach that limit, Lifebook disables adding and importing new entries until you purchase the full version or remove existing entries.
You can purchase the full version from Settings when the Microsoft Store purchase button is available.
The Three Main Areas
Lifebook has three main working areas:
- The main menu, where you switch views, add entries, import content, search, and open settings.
- The timeline list view, where entries are grouped by year.
- The calendar view, where entries are arranged by date.
Opening an entry shows the overlay view, a large view for reading, playing media, editing, and moving between entries.
Basic Workflow
To create your first entry:
- Select
Add entryin the main menu, or pressCtrl+N. - Choose the entry type: text, image, video, audio, or photo album.
- Enter a title.
- Add content or choose a file when needed.
- Adjust the date, caption, or tags.
- Select
Ok.
To import existing content, use the arrow menu beside Add entry in the main menu or drag files/folders onto the main Lifebook window.
Entry Dates
Dates control where entries appear in the timeline and calendar.
- Manually created entries use the current date by default.
- Files imported from disk use the file date where available.
- Images may use the photo capture date when that information exists.
- Calendar imports use the event start date.
You can change an entry date in edit mode.
Tags
Tags are short labels that help group related entries. They appear as small label chips on entries, and the filter column marks tags with a # symbol. Tags can be added from the overlay while editing, selected directly from entry cards, and used in the filter column.
Backups
Use Settings > Manage Data to export your Lifebook data file. This creates a Lifebook backup file that can later be imported from the same Settings section.
For readable documents, use Export As Text File, which can create PDF, Word, HTML, or text documents from entries.